
Before: The Holiday Baking Dilemma
The holidays are here (yes—today’s November 7th!) and many home bakers feel the pressure: the table needs something special, the aroma of fresh bread would be perfect, but … where to start? You may know you want to bake sourdough, but you’re unsure how.
- You might not realize you can make your own starter with just flour and water.
- You might feel the holiday timeline is too tight: “If I don’t have this ready by Christmas morning, it won’t work.”
- You might worry your first loaf won’t look festive or taste good enough to share.
- You might fear that sourdough is too advanced—so maybe you’ll skip it and settle for store-bread instead.
After: A Holiday Table with Your Own Sourdough
Now, imagine this: a cozy kitchen, warm lights, a loaf of bubbling golden sourdough with a festive scoring pattern (maybe even shaped like a tree or star). The smell draws the family in. You deliver it confidently to the table and hear the “wow” when it’s sliced. Your homemade bread becomes one of the holiday highlights, bringing smiles, warmth, and pride. You’ve mastered the starter, you’ve shaped the loaf, you’ve done it—with ease and joy. You feel capable, you feel creative, and your kitchen feels like a bakery for a morning.
Bridge: How Pancito y Más Helps You Nail This Holiday Bake
Pancito y Más is your holiday baking partner. With their tools and guidance, you transform from unsure to sourdough hero. They provide:
- A simple starter-creation plan (flour + water = magic).
- A friendly schedule that works around the holiday rush (you don’t have to bake at midnight!).
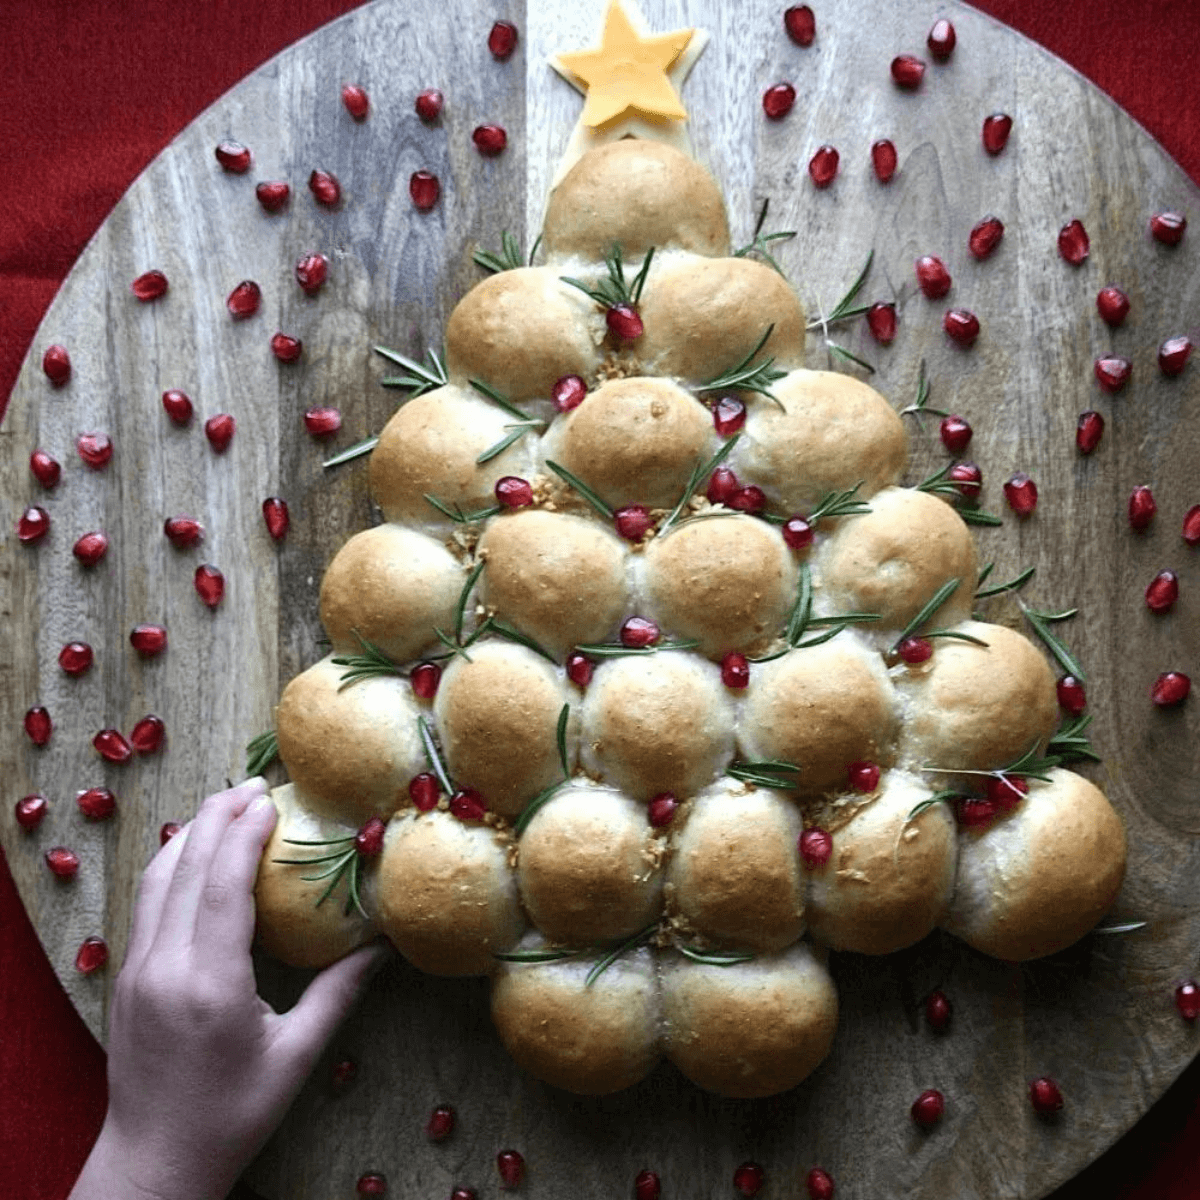
- Festive loaf shaping tips (star breads, tree loaves, decorative scoring) so your bread looks like celebration and tastes amazing.
- A call-to-action: Ready to skip the stress and bake with confidence? Head over and check out the complete kit on Amazon [insert your Amazon listing link here].
🥖 Holiday Sourdough Plan: Make Your Own Starter & Bake Your First Festive Loaf
1. Kick Off Your Starter (Day 1)
- In a clean jar: mix 100 grams whole wheat (or unbleached all-purpose) flour + 100 grams room-temp water. Stir.
- Cover loosely. Place in a warm location (~70–75°F).
- Let it sit for 24 hrs—no feeding yet.
2. Days 2-6: Daily Feedings
- Day 2: Check for bubbles. If none, stir and rest.
- Days 3-6: Each day: discard about half of the mix. Add fresh 100 grams of flour + 100 grams of water. Stir.
- Mark the level with tape or rubber band so you can watch it rise.
- By Days 4-6 you should see bubbling and some rise. This means your starter is waking up.
3. Day 7: Starter Ready → Bake!
- Perform the “float test”: take ~1 tbsp of starter and drop into a cup of water. If it floats, it’s ready.
- If it sinks, keep feeding 1-2 more days and test again.
4. Bake Your Holiday Loaf
Ingredients example:
- 400 g bread flour (unbleached white)
- 100 g whole wheat flour (optional for flavor and color)
- 350 g water (room temperature, ~24 °C)
- 100 g active sourdough starter (fed within 4–6 hours, bubbly and doubled)
- 10 g fine sea salt
🕒 Steps
1. Mix the Dough
In a large bowl, combine 400 g bread flour and 100 g whole wheat flour.
Add 350 g water and 100 g active starter. Mix with a dough whisk or your hands until no dry flour remains.
Cover and rest (autolyse) for 45 minutes.
2. Add Salt
Sprinkle in 10 g salt and incorporate by pinching and folding the dough.
The dough will become smoother as gluten begins to form.
3. Bulk Fermentation
Cover and let the dough ferment at room temperature (24–26 °C) for 6–8 hours.
Perform 3–4 stretch-and-folds every 30–45 minutes for the first 2 hours to strengthen gluten.
By the end, the dough should have risen about 50% and feel airy.
4. Shape the Dough
Turn the dough onto a lightly floured surface.
Shape it into a round or oval loaf, creating surface tension by gently tucking edges under.
Place seam-side up in a floured banneton or bowl lined with a floured towel.
5. Proof (Second Rise)
Cover and let rest for 1–2 hours at room temperature, or refrigerate overnight (8–12 hours) for a slower, more flavorful proof.
6. Preheat the Oven
Preheat your oven to 230 °C (450 °F) with a Dutch oven inside for at least 30 minutes.
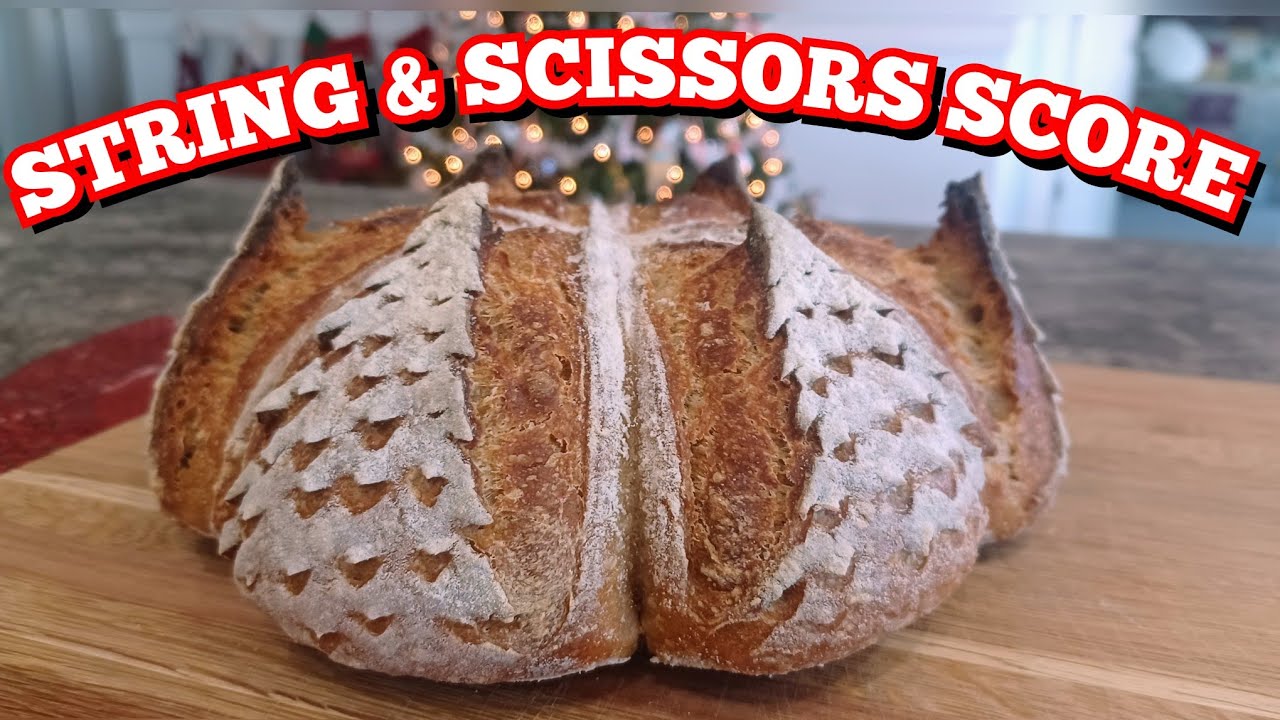
7. Score and Bake
Transfer the dough onto parchment paper, score the top (a tree or star for the holidays 🎄), and place it into the hot Dutch oven.
- Bake 30 minutes with lid on
- Then 10–15 minutes lid off until deep golden brown and crusty.
8. Cool and Enjoy
Let the loaf cool on a wire rack for at least 1 hour before slicing.
Serve with butter, honey, or jam for a festive touch!
5. Holiday Styling Tips

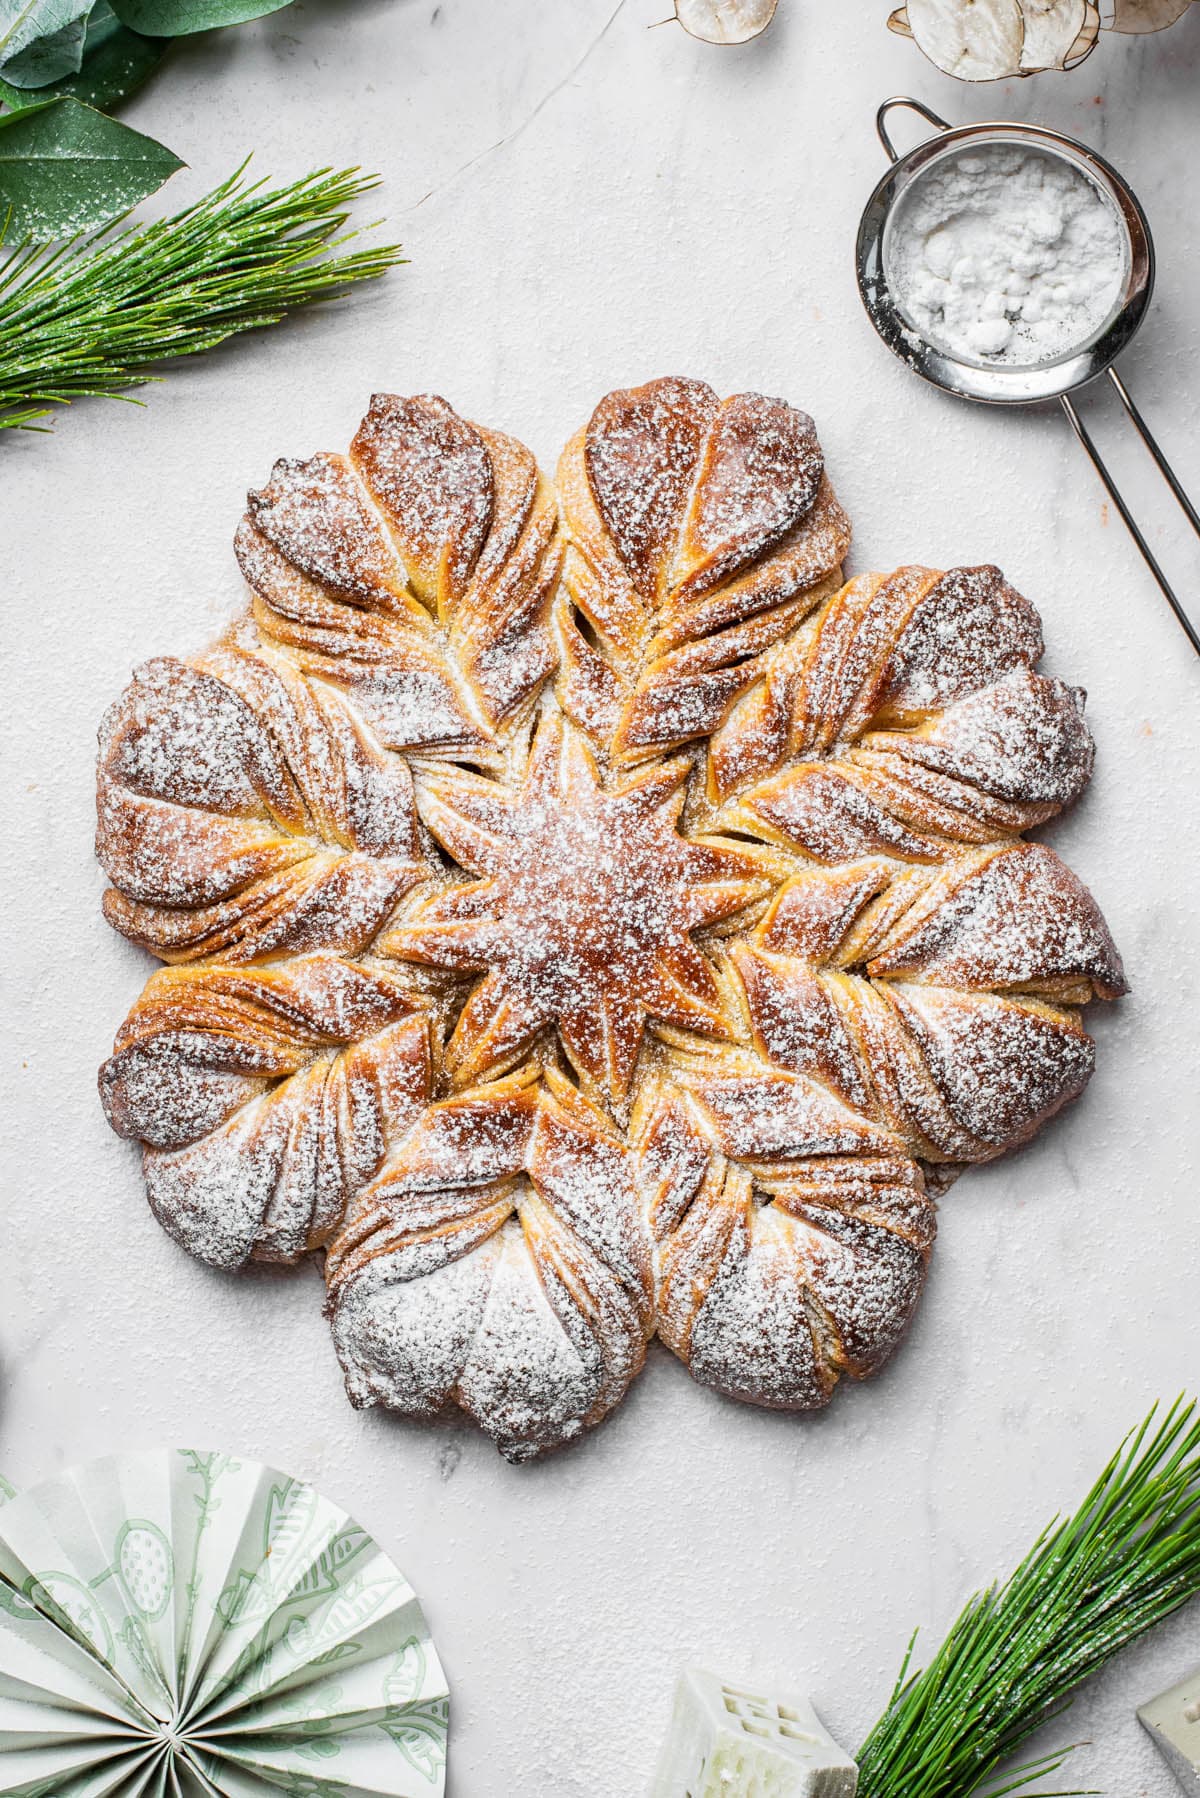


- Dust with flour and score decorative leaves or stars.
- Serve on a wooden board with rosemary sprigs and cranberries for a festive touch.
- Pair with warm seasonal soup, butter with honey, or your favorite holiday jam.
6. Why This Works for the Holidays
- Your starter is ready well ahead of the big day—no last-minute panic.
- The schedule allows you to bake in advance or on the day, depending on how busy you are.
- The decorative loaf becomes a beloved centerpiece, not just a side dish.
- You’re not scrambling for last-minute ingredients—the flour and water combo is simple and reliable.
✅ Call to Action
Don’t let the holidays pass by without a bread you’re proud of. Grab the tools, follow the steps, and make this your year.
👉 Check out the Pancito y Más Complete Sourdough Starter Kit on Amazon – make your holiday table unforgettable.
🎁 Final Thought
This holiday season, give yourself and your loved ones more than just a loaf. Give them warmth, handcrafted goodness, and that satisfying moment when bread becomes celebration. You’ve got this. Grab your flour, water, starter jar—and let Pancito y Más help you shine.
Happy holiday baking! 🥖✨